how to roast coffee beans
Want fresher mornings and more control over flavor? This beginner-friendly guide walks U.S. readers through small-batch home roasting in plain language.
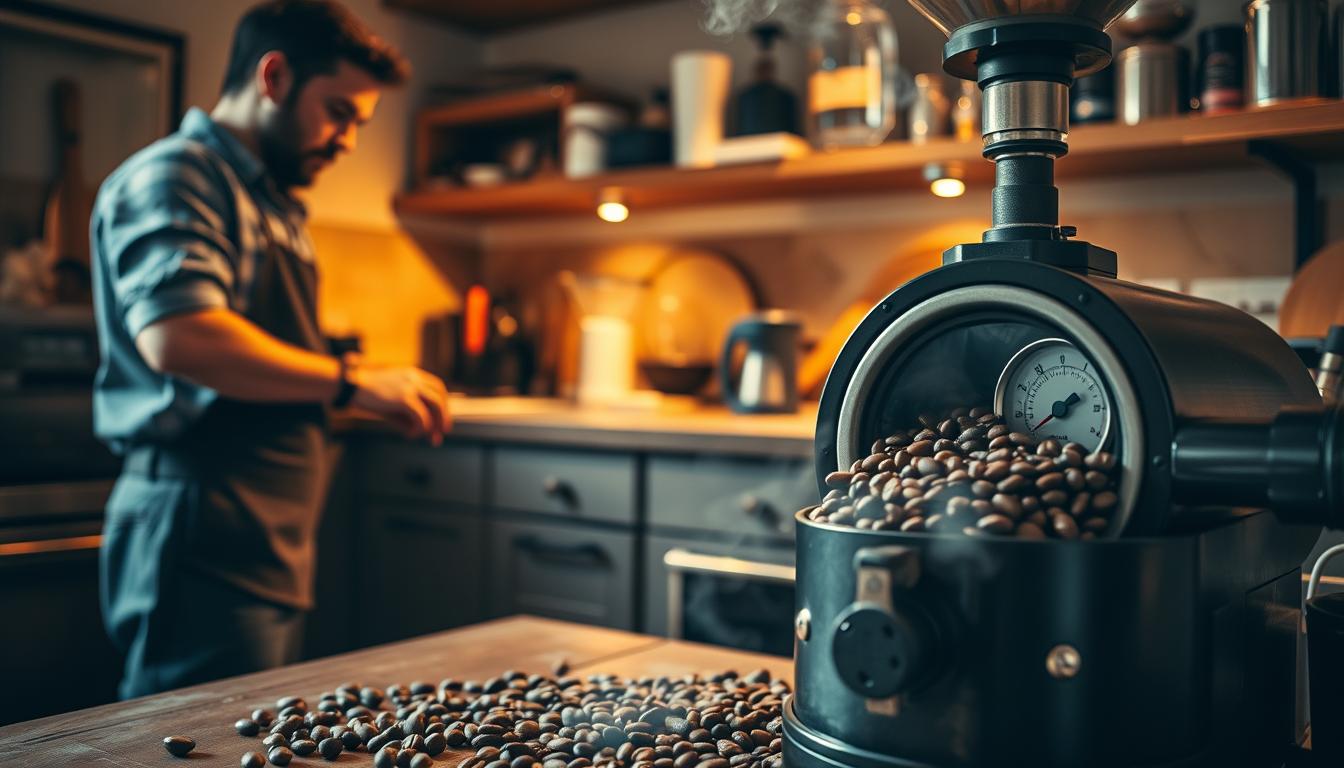
Roasting means heating green seeds until they brown and release aroma. You will learn setup basics: a well-ventilated space, safe heat sources, and tools that keep kernels moving as they change.
Expect clear steps on heating, listening for audible cracks, cooling quickly, letting the grounds rest, and storing for best freshness. Sensory cues — color shifts, scent, and crack sounds — matter more than strict timers for consistent results.
Big choices include the method (pan, oven, air popper, or a dedicated machine) and target darkness from light to dark. Start with one small batch, note times and smells, then repeat with the same batch size for faster improvement.
Safety note: smoke, strong aroma, and hot surfaces are normal. Use ventilation and heat-proof tools for a safe, enjoyable learning curve.
Why Roast Coffee at Home for Fresher, More Custom Coffee
Freshly roasted grounds peak within a short window, and home roasting lets you catch that moment. Peak flavor often arrives within days after a roast, so small batches help you drink the best cup instead of a stale one.
Aromatics fade fast. When you handle the roasting yourself, the brew’s acidity, sweetness, and body stay vivid. You can stop the process at light, medium, or dark cues to match your taste.
Control and customization
Choose origin, batch size, and the exact end point for flavor. The roasting process breaks down into clear phases—drying, browning, first crack, and beyond—so learning feels logical, not mysterious.
Cost and quality
Green coffee usually costs less than pre-roasted options. Buying green gives better value over time and lets you invest in higher quality for more complex results. Remember: quality in means better taste out.
- Freshness window: best within days after a roast.
- Customization: pick origin and roast level for desired flavor.
- Value: green coffee lowers cost per cup and improves control.
Expect a short learning curve. The first batches teach your home setup. Small tweaks deliver noticeable gains—so keep notes and repeat a few consistent runs.
Ready for practical steps and gear? See this guide to home roasting for a helpful next reference.
What You Need to Roast Coffee Beans at Home

Good results begin with simple gear: stable heat, steady movement, and a clear workspace.
Core essentials
Three items are non-negotiable: green beans, a reliable heat source, and a way to keep kernels moving so they brown evenly.
- Equipment: a pan, oven tray, or popcorn-style air device for beginners.
- Heat control matters—consistent temperature prevents scorching.
Measurement, cooling, and ventilation
Use a thermometer or a roaster with a built-in readout to link temperatures with first and second crack.
Quick cooling and chaff removal need a metal colander and a fan or open-air place to lift away chaff.
Resting and storage
Have containers for short rest and longer storage. Choose one-way valve containers so CO2 can escape while limiting oxygen.
Note: popcorn machines are popular but can burn out. Dedicated coffee roaster units handle agitation better and work well in an outdoor place for repeated runs.
How to Roast Coffee Beans Step by Step
Start with a clear workspace and a plan—consistency is the secret of repeatable results.
Setup and batch prep
Choose a well-ventilated place, ideally outside or near a window. Weigh your batch so each run is comparable. Preheat your pan, oven, or roaster for steady temperature control.
Drying and color shift
At first, moisture leaves the green seed. Steam and a grassy smell appear as color shifts from green to yellow. This drying phase sets the stage for even browning.
Maillard and aroma
The Maillard reaction builds sweetness and toasted notes. Scent moves from grassy toward bread, nuts, and caramel as surface browning develops.
First and second crack
Listen for first crack near 350°F — a popcorn-like snap that marks the light window. Track minutes and temperature, not just time alone.
Second crack arrives closer to 400°F with sharper pops and more smoke. That signals a move toward dark roast flavors.
Cooling, chaff, and resting
Stop the roasting process fast: dump into a metal colander, shake, and use a fan if available. Chaff loosens and can be blown off during cooling.
Let roasted beans rest and off-gas 24–48 hours (some prefer 1–3 days) before brewing for clearer flavor.
For a deeper reference, see this home roasting guide.
| Stage | Temp Range | Key Sign |
|---|---|---|
| Drying | Up to ~320°F | Green → yellow, steam |
| First crack | ~350°F | Popcorn-like crack |
| Second crack | ~400°F | Sharper cracks, more smoke |
Home Roasting Methods Compared: Pan, Oven, Popcorn Popper, or Home Coffee Roaster

Different home methods trade control for convenience—pick what matters most.
Pan method
Use medium-high heat and stir constantly. Expect about 7 minutes at ~200°C; uneven patches and loss of delicate aroma are common.
Oven method
Preheat near 250°C and spread an even layer on a tray. Roast roughly 12 minutes, stirring occasionally for larger batches and more even color.
Air popper / popcorn-style
Airflow-driven systems give quick, beginner-friendly agitation. Many popcorn machines work briefly, but motors may overheat if run often.
Dedicated home roaster
A small roaster gives the best control and consistency. Built-in agitation and temperature settings reduce guesswork and make outdoor runs simple to avoid indoor smoke.
| Method | Budget | Batch Size | Control | Typical Minutes |
|---|---|---|---|---|
| Pan | Low | Small | Low | ~7 |
| Oven | Low–Medium | Medium | Medium | ~12 |
| Air/Popcorn | Low | Small | Low–Medium | 5–8 |
| Dedicated roaster | Medium–High | Small–Medium | High | Varies |
Decision tip: try a simple method once, then move up in control as you want better repeatability and quality.
Time and Temperature Targets That Help You Hit the Right Roast
Small changes in minutes or degrees make big differences in final flavor.
Use these home timing ranges as a starting point: light roughly 8–9 minutes, medium 9–11 minutes, medium-dark 11–12 minutes, and dark roast about 12–15 minutes. Every setup changes actual times, so treat these as guides rather than rules.
Example roaster dial path
One practical dial approach: begin at 285°F (140°C) for drying and yellowing, raise to 355°F (180°C) to reach first crack, then push toward 430°F (220°C) to develop medium or dark notes. Watch color and listen for the crack rather than only watching a clock.
Track minutes, batch size, and temperature
Batch weight matters: larger batches often take longer and can mute development if heat can’t keep up. Log date, origin, batch weight, method, key minutes (yellow/first crack/second crack), and your finish temperature.
| Roast level | Typical minutes | Key temp cue | Sensory sign |
|---|---|---|---|
| Light | 8–9 | ~355°F | Yellowing, bright acidity |
| Medium | 9–11 | 355–400°F | Balanced sweetness, fuller body |
| Medium-dark | 11–12 | 400–420°F | Reduced acidity, caramel notes |
| Dark roast | 12–15 | 420–430°F+ | Oily sheen, smoky, bolder flavor |
Change only one variable at a time—batch, heat steps, or finish temp—to learn your process faster. Use these targets to land the light, medium, or dark roast level you want without guessing each session.
Choosing Roast Level and Reading the Signs in the Beans
Small shifts in color, sound, and smell tell you which level to stop at. Learn the cues so your next batch matches the cup profile you want.
Light
Light results show a light brown color with no surface oil. Stop shortly after first crack for brighter acidity and clear origin character.
Medium
Medium brings a richer brown and more balance. Brown deepens near the end of first crack and sweetness increases without smoky notes.
Medium-dark
This level gives caramelized sweetness and fuller body. Acidity drops just before second crack begins — many find this the sweet spot.
Dark roast
Deep brown to near-black, often with an oily sheen. Smoke and bold roast-forward notes grow stronger; move carefully because it can tilt toward burnt quickly.
- Think of level as a spectrum, not fixed numbers.
- Listen for cracks and watch color rather than rely on time alone.
- When you like a batch, log minutes since first crack, end temp, and final color for repeatable quality.
| Stage | Visual cue | Aroma cue |
|---|---|---|
| Light | Light brown, dry surface | Bright, floral or fruity |
| Medium | Richer brown, still dry | Sweet, toasty |
| Dark | Deep brown, oily | Smoky, bold |
Storing Roasted Coffee Beans So Every Cup Tastes Like You Roasted Them Today
Proper storage keeps the flavors you worked for alive in every cup.
After cooling, let roasted beans off-gas 24–48 days for best clarity, or 1–3 days if you prefer a milder profile. Place the batch in an airtight container and move it to a cool, dark pantry away from heat and sunlight in a typical U.S. home.
Use a one-way valve bag or valve container for longer holds; those vent CO2 while limiting oxygen. Portion a small daily container and keep the rest sealed to avoid repeated exposure.
Label and date each container, grind only right before brewing, and aim to brew within about seven days for peak roasted coffee freshness.